Keer Zhao
Intro to Physical Computing
Lab: Using a Transistor to Control High Current Loads with an Arduino

Setup:
Arduino nano 33, Potentiometer, motor, NPN, diode
Process:
Eventually, this first lab worked, but the process is kinda tough.
The first time I tried: the motor I borrowed from the shop is broken. The second time I tried: the motor turns, then suddenly stops, and then turns. And the third time trying it, the motor was just spinning non-stop.
For the second part of the part, a potentiometer is connected to control the motor. It also worked.
While doing the lab, we found a little circular buzzer. Somebody told us that this buzzer is also a motor, so we just replaced the motor with this buzzer, and it also worked lol.

left motor is the broken one, the right on is.. also not really working...

control the motor with a potentiemeter

same setup but with a buzzer
Lab: DC Motor Control Using an H-Bridge

Part 2: Fonts and Graphics

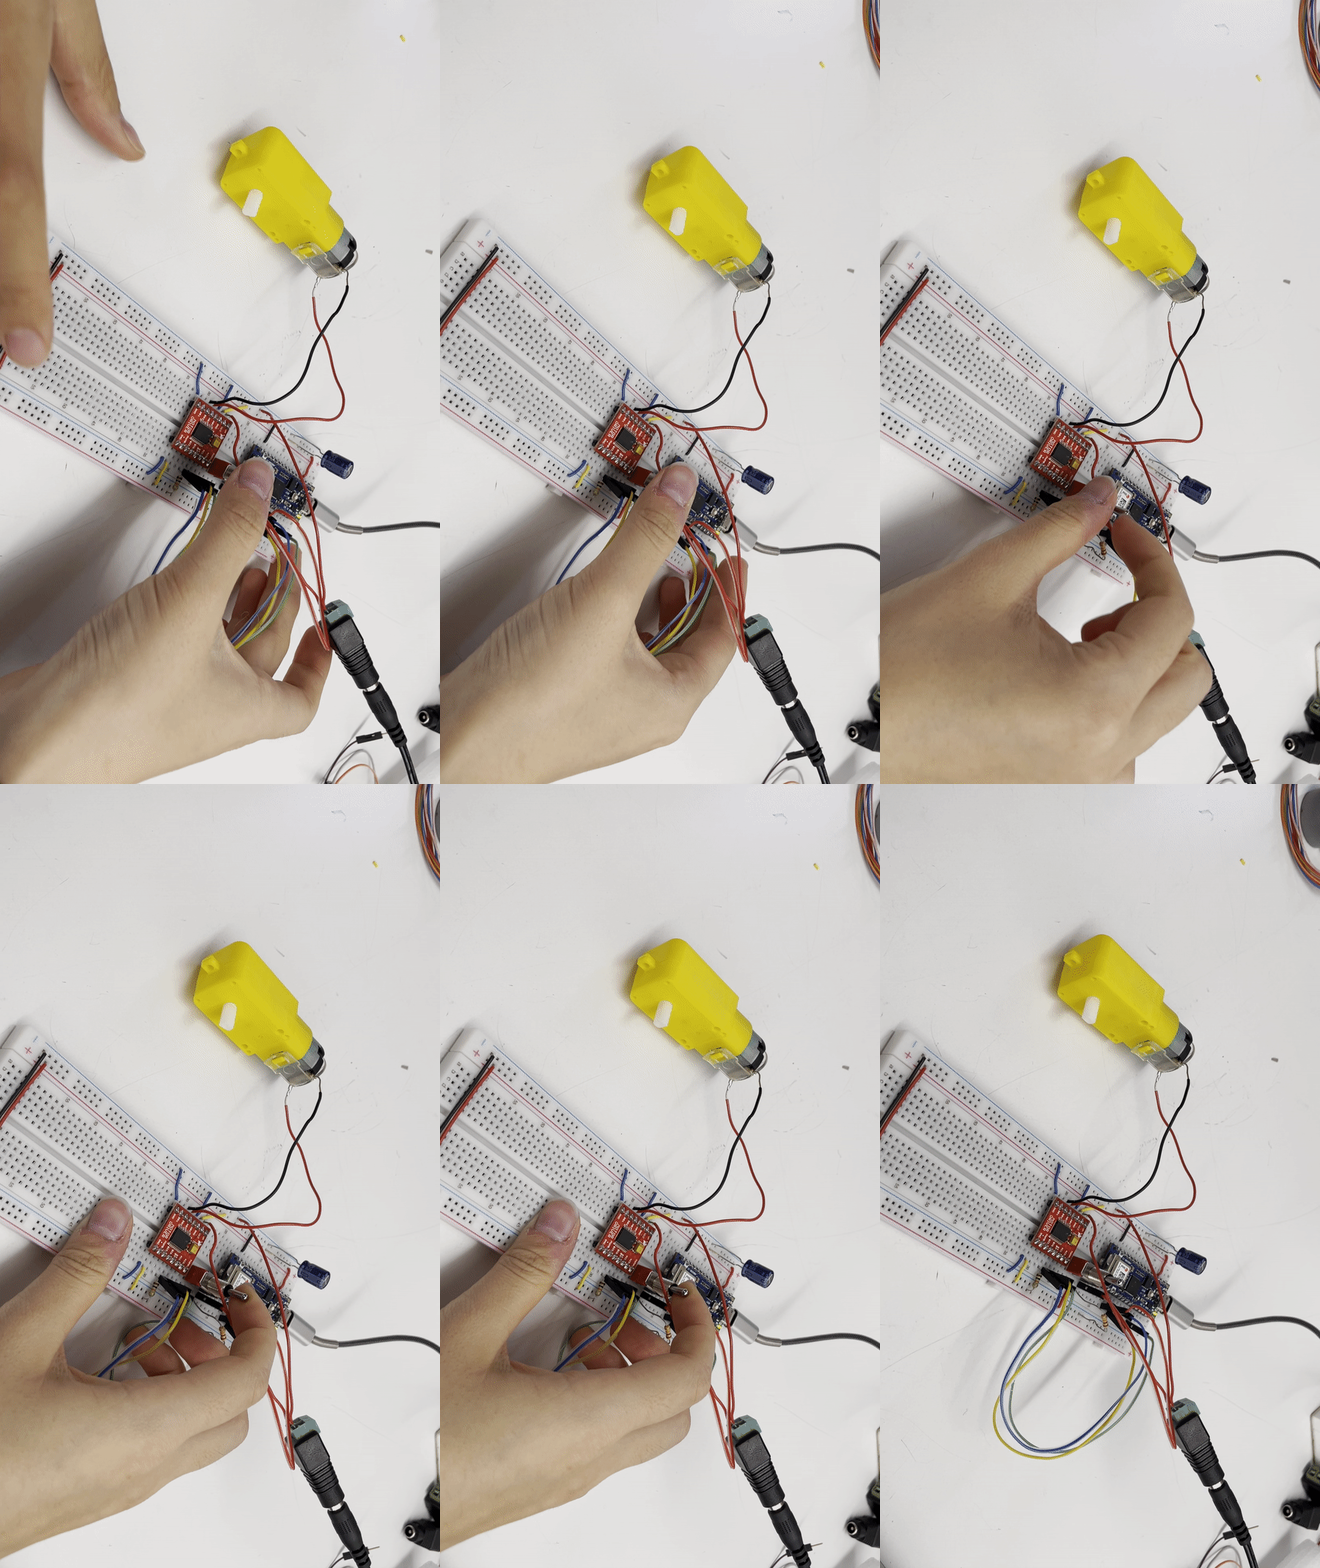
In this setup, we had a toggle switch, H bridge, and a motor. As shown in the video, as we change the switch, the motor also changes the spinning direction.
Lab: Controlling a Stepper Motor With an H-Bridge

Sadly, we did not get the last lab work.
On the instruction, they used an uno board. Since I only have the nano 33, so I just did it with nano. I tripled checked wiring and tried some different steps per revolution. The serial port did show up readings and the motor was warm, but it did not spin.